Safe Step Walk-In Tub Manual: A Comprehensive Guide
This manual details installation procedures and crucial safety precautions for Safe Step walk-in tubs, covering model-specific instructions for optimal performance.
Understanding Your Safe Step Walk-In Tub
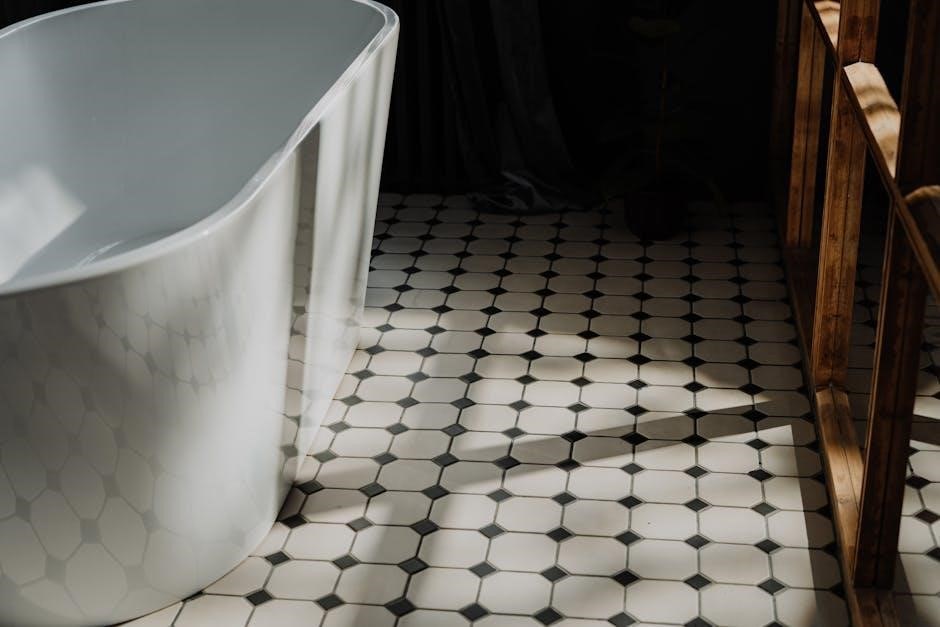
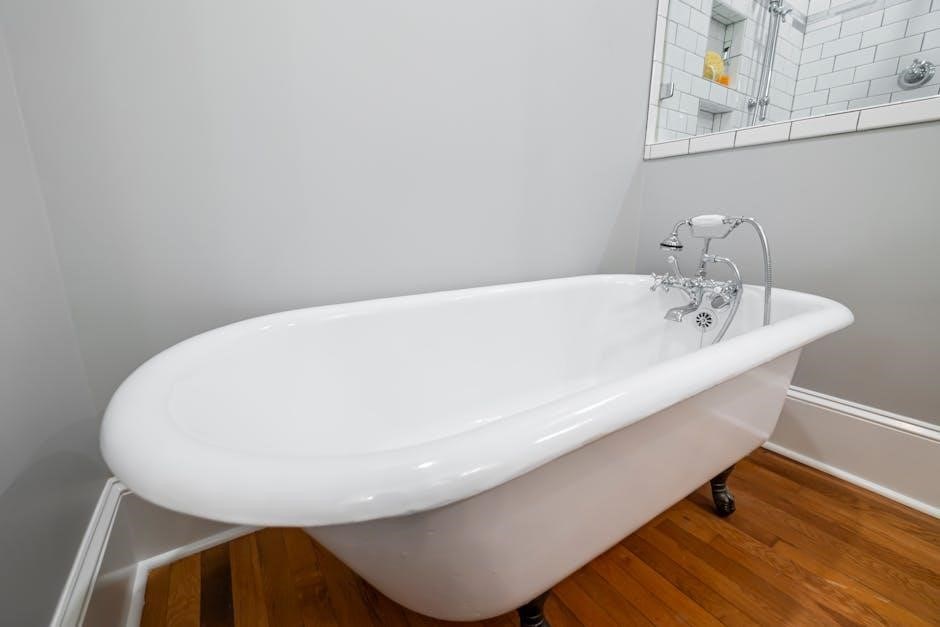
Welcome to a new era of bathing independence! Your Safe Step walk-in tub is engineered for safety, comfort, and therapeutic benefits. This tub isn’t just a fixture; it’s a solution designed to make bathing accessible and enjoyable for individuals with limited mobility.
Before you begin, familiarize yourself with the tub’s components – the low-step entry, the built-in seat, and the strategically placed grab bars. These features are paramount to a secure bathing experience. Understanding how each element functions will enhance your confidence and safety.
This manual provides detailed guidance on installation, operation, maintenance, and troubleshooting. Carefully review each section to ensure proper usage and longevity of your investment. Remember, safety is our top priority, and this guide is designed to help you maximize both safety and enjoyment.
Key Features and Benefits
Safe Step walk-in tubs are designed with accessibility and well-being in mind. The remarkably low step-in height drastically reduces the risk of slips and falls, offering peace of mind. The integrated, comfortable seat allows for relaxed and secure bathing, eliminating the need to lower oneself to the tub floor.
Furthermore, strategically positioned grab bars provide additional stability and support throughout the bathing process. Many models feature therapeutic jets for a soothing massage, easing muscle aches and promoting relaxation.
Beyond safety, Safe Step tubs offer independence and a renewed sense of confidence. Enjoy a luxurious and therapeutic bathing experience tailored to your needs, all within a secure and comfortable environment. It’s more than a tub; it’s a lifestyle enhancement.
Safety Precautions Before Installation
Prior to installation, a thorough assessment of your bathroom’s structural integrity is crucial. Ensure the floor can adequately support the filled tub’s considerable weight, potentially requiring reinforcement. Always disconnect both the water supply and electrical power to the bathroom before commencing any work.
Verify compliance with all local plumbing and electrical codes. Improper installation can lead to serious hazards. Wear appropriate safety gear, including eye protection and gloves, throughout the process.
If you are uncomfortable with any aspect of the installation, immediately consult a qualified, licensed plumber and electrician. Ignoring these precautions could result in injury, property damage, or void your warranty.
Installation Procedures: A Step-by-Step Overview
Begin by carefully unpacking the Safe Step walk-in tub and verifying all components are present, referencing the parts list. Next, prepare the bathroom space, ensuring adequate clearance for maneuvering the tub into position. Plumbing connections require careful attention to detail; securely attach the water supply lines and drain, utilizing appropriate sealant to prevent leaks.
Electrical connections are critical and must be performed by a qualified electrician, ensuring proper grounding and adherence to local codes. Once plumbing and electrical work is completed, carefully position the tub and level it. Finally, test all connections for leaks and proper functionality before use.
Preparing the Bathroom Space
Prior to installation, thoroughly assess the bathroom’s layout, ensuring sufficient space for the walk-in tub and comfortable access. Remove any existing fixtures – such as the old bathtub or shower – and clear the area of obstructions. Verify the floor is structurally sound and level, capable of supporting the tub’s weight when filled with water and a user.
Protect the flooring with drop cloths to prevent damage during installation. Confirm the proximity of existing plumbing and electrical connections, noting any necessary modifications or extensions. Adequate ventilation is crucial; ensure the bathroom is well-ventilated throughout the installation process.
Plumbing Connections: Water Supply & Drain
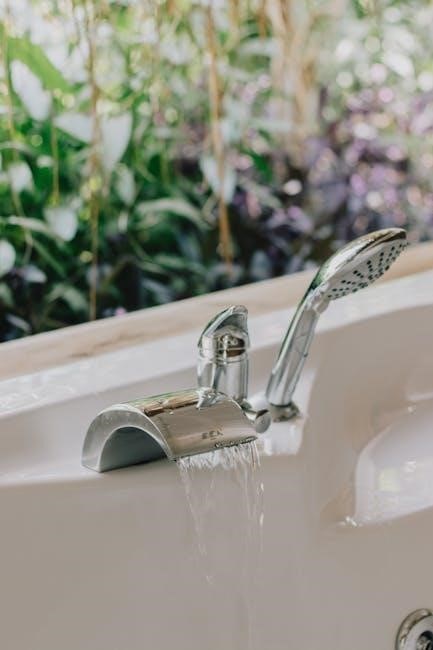
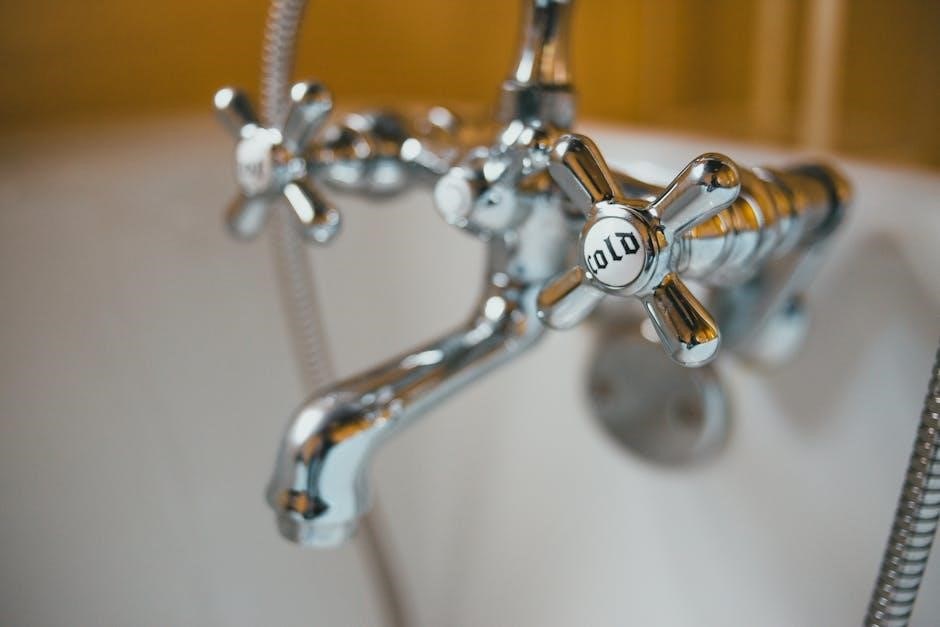
Carefully connect the water supply lines – both hot and cold – to the designated inlets on the tub, utilizing appropriate fittings and Teflon tape to prevent leaks. Ensure proper water pressure is maintained for optimal jet and faucet function. Connect the drain assembly, verifying a secure and watertight seal to the existing drainpipe.

Inspect all connections for any signs of leakage after initial water supply activation. Properly vent the drain line to prevent siphoning and ensure efficient water drainage. Adhere to local plumbing codes and regulations throughout the process. Double-check all connections before proceeding to the next installation step.
Electrical Connections: Grounding & Power Supply
Connect the Safe Step walk-in tub to a dedicated, properly grounded electrical circuit, adhering strictly to local electrical codes and regulations; A Ground Fault Circuit Interrupter (GFCI) outlet is mandatory for safety, protecting against electrical shock. Ensure the voltage matches the tub’s specifications, typically 120V or 240V.

Never attempt electrical connections if you are not a qualified electrician. Improper wiring can lead to serious injury or fire hazard. Securely connect the power supply cable to the designated terminal box on the tub, verifying a tight and insulated connection. Test the GFCI outlet after installation to confirm proper functionality.
Operating Your Safe Step Walk-In Tub
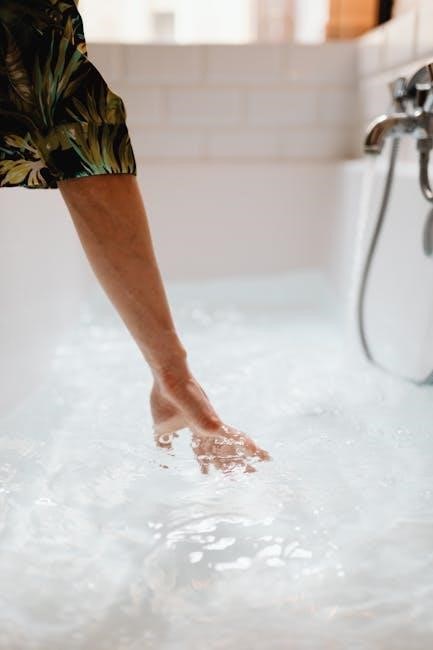
Before each use, carefully inspect the tub and ensure all safety features, like the seat and grab bars, are securely in place. Begin filling the tub with water, maintaining a comfortable temperature – typically between 95-105°F (35-40°C). Avoid excessively hot water to prevent scalding.
Once filled to the appropriate level, carefully enter the tub, utilizing the grab bars for support. Engage the therapy jets and adjust the settings to your preference. Relax and enjoy the therapeutic benefits. After your soak, drain the tub completely before exiting, again using the grab bars for stability.
Filling the Tub: Water Temperature & Levels
Prior to filling, ensure the drain is securely closed. Begin with lukewarm water, gradually adjusting to your desired temperature, ideally between 95-105°F (35-40°C). Always test the water temperature with your hand before entering the tub to avoid scalding.
The recommended water level is typically just below the lowest jet, but refer to your specific model’s instructions. Overfilling can compromise jet function and potentially cause overflow; Monitor the water level throughout the filling process. Never leave the tub unattended while filling. Adjust water temperature and level for a safe and comfortable experience.
Using the Seat and Grab Bars
Before entering, verify the seat is stable and clean. Gently lower yourself onto the seat, utilizing the grab bars for support. Always maintain a firm grip on the grab bars during entry and exit, even if you feel balanced. The grab bars are strategically positioned to provide maximum stability.
Avoid sudden movements while seated. The seat is designed to support your weight, but excessive force or rocking can compromise its stability. Regularly inspect the grab bars for looseness and tighten if necessary. Use the grab bars to assist with repositioning within the tub for optimal comfort and safety.
The Soaking Experience: Jets & Therapy Options
Your Safe Step tub offers a variety of jet and therapy options for a personalized experience. Familiarize yourself with the control panel to adjust jet intensity and select desired therapy modes. Start with a low jet setting and gradually increase to your comfort level. Different jet configurations target specific muscle groups for relief.
Explore the hydrotherapy options, such as massage and air bubble therapy, to enhance relaxation and well-being. Avoid directing high-intensity jets directly at sensitive areas. Limit soaking sessions to 20-30 minutes initially, and adjust based on your body’s response. Always remain hydrated during and after your soaking experience.
Maintenance and Cleaning
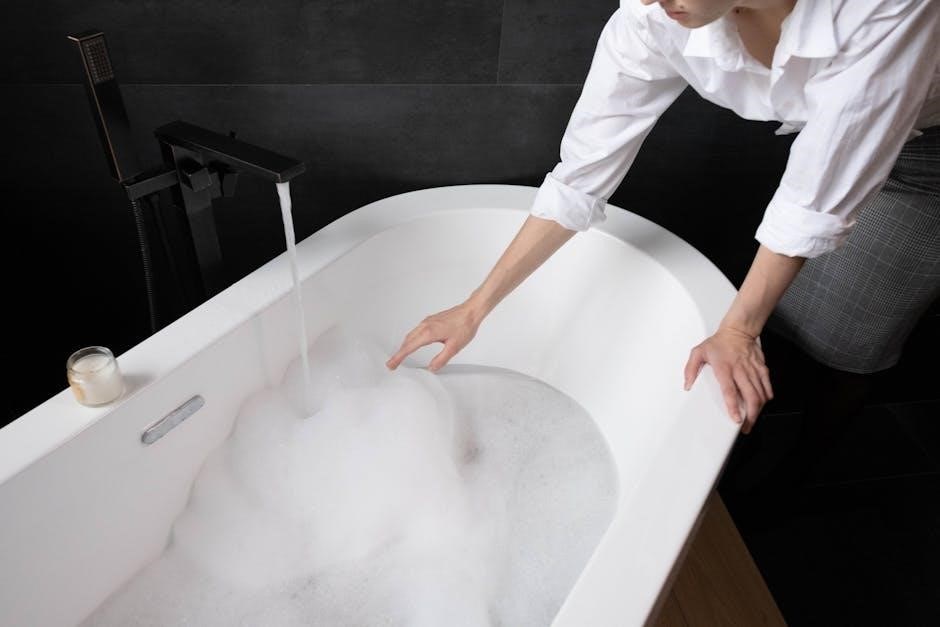
Regular maintenance ensures your Safe Step tub’s longevity and hygiene. Implement a consistent cleaning schedule to prevent buildup and maintain optimal performance. Daily cleaning involves rinsing the tub after each use with mild soap and water, paying attention to the seat and grab bars. Weekly, perform a more thorough cleaning using a non-abrasive cleaner specifically designed for acrylic surfaces.
Periodically disinfect the jets and plumbing lines according to the manufacturer’s instructions. Inspect seals and connections for leaks or damage. Avoid harsh chemicals or abrasive cleaners that could scratch or damage the tub’s finish. Proper care will keep your Safe Step tub pristine and enjoyable for years.
Daily Cleaning Procedures
Maintaining cleanliness after each use is crucial for hygiene and preventing buildup. Begin by thoroughly rinsing the entire tub interior with warm water, removing any soap residue or oils. Use a soft cloth or sponge dampened with a mild, non-abrasive soap to gently wipe down all surfaces, including the seat, grab bars, and side walls.
Pay close attention to areas prone to soap scum and water spots. Rinse thoroughly again to remove all traces of soap. Dry the tub with a clean, soft towel to prevent watermarks and maintain a sparkling finish. Avoid using harsh chemicals or abrasive cleaners, as they can damage the acrylic surface. This simple routine ensures a consistently clean and inviting bathing experience.
Deep Cleaning & Disinfection
For a more thorough clean, perform a deep disinfection monthly. Begin by emptying the tub and rinsing it with warm water. Prepare a solution of mild dish soap and warm water, or a specifically formulated tub and tile cleaner recommended by Safe Step. Apply the solution to all surfaces, allowing it to sit for 5-10 minutes to loosen stubborn grime.
Use a soft brush or sponge to scrub gently, focusing on areas with mildew or discoloration. Rinse completely with warm water, ensuring no cleaner residue remains. For disinfection, use a diluted bleach solution (follow manufacturer’s instructions carefully) or a commercial disinfectant safe for acrylic surfaces. Rinse thoroughly and dry with a clean towel.
Preventative Maintenance Tips
Regular preventative maintenance extends your Safe Step tub’s lifespan. After each use, rinse the tub thoroughly with fresh water to remove soap scum and oils. Wipe down all surfaces – including the seat, grab bars, and jets – with a soft, damp cloth. Periodically inspect the drain for hair or debris and remove it promptly to prevent clogs.
Check the jet nozzles for any blockages and clean them as needed, following the instructions in the ‘Jet Malfunctions’ section. Avoid using abrasive cleaners or scouring pads, as they can damage the acrylic surface. Consider applying a protective acrylic polish occasionally to maintain shine and prevent staining.
Troubleshooting Common Issues
Encountering issues with your Safe Step tub? This section provides guidance for resolving frequent problems. Water leaks often stem from loose plumbing connections – carefully inspect and tighten all fittings. Drainage problems usually indicate a blockage; clear the drain trap. Jet malfunctions may require nozzle cleaning or, in rare cases, pump repair.
Electrical issues are serious; immediately disconnect power and contact a qualified electrician. Never attempt electrical repairs yourself. If the tub won’t fill, check the water supply valve. For error codes displayed on the control panel, consult the warranty section for support contact details. Prioritize safety always!
Water Leaks and Drainage Problems

Addressing leaks promptly prevents water damage. Inspect all plumbing connections – supply lines, drain connections, and around the tub’s shell – for any visible moisture. Tighten loose fittings carefully, avoiding over-tightening. Persistent leaks may require plumber’s tape or replacement of worn washers.
Slow drainage often indicates a clogged drain. Remove the drain stopper and clear any hair or debris. For stubborn clogs, use a drain snake or enzymatic drain cleaner (avoid harsh chemicals). If water backs up during operation, check the vent pipe for obstructions. Regular cleaning prevents future drainage issues.
Jet Malfunctions and Repairs
If jets aren’t functioning, first verify the power supply to the tub. Check the control panel for activation and ensure the jet settings are correctly selected. Inspect the jet nozzles themselves for blockages – mineral deposits or debris can restrict water flow. Gently clean nozzles with a soft brush and vinegar solution.
For persistent issues, access the pump housing (refer to the installation manual for location). Inspect the pump for obstructions or damage. A faulty pump may require professional repair or replacement. Never attempt to disassemble the pump yourself without proper training. Regular use helps prevent jet malfunctions.
Electrical Issues & Safety Concerns
Electrical safety is paramount when dealing with your Safe Step walk-in tub. Never attempt electrical repairs unless you are a qualified electrician. Always disconnect power at the breaker before inspecting or servicing any electrical components. Look for signs of damage to the power cord, plug, or control panel – frayed wires or discoloration indicate a potential hazard.
If you experience shocks, tingling sensations, or tripped breakers, immediately discontinue use and contact a professional. Ensure proper grounding is maintained to prevent electrical shock. Do not operate the tub if it’s damaged or malfunctioning. Regular inspections by a qualified electrician are recommended.
Warranty Information and Customer Support

Your Safe Step walk-in tub is backed by a comprehensive warranty, protecting against defects in materials and workmanship. Carefully review the warranty documentation included with your tub to understand the coverage period, limitations, and claim procedures. Registration of your product is often required to activate the full warranty benefits.
For assistance with warranty claims, troubleshooting, or general inquiries, contact Safe Step Customer Service. Their dedicated team is available to provide expert support and guidance. Keep your proof of purchase readily available when contacting customer support. Visit the official Safe Step website for contact information and FAQs.
Understanding Your Safe Step Warranty
The Safe Step warranty provides coverage for your walk-in tub, but it’s crucial to understand the specifics. Typically, the warranty covers manufacturing defects in the tub shell, jets, and essential components for a defined period. However, it may not cover damage resulting from improper installation, misuse, or normal wear and tear.
Review the warranty document carefully to identify what is covered and excluded. Pay attention to any requirements for annual maintenance or inspections to maintain warranty validity. Proper registration of your tub is often necessary to activate the warranty. Keep a copy of your warranty and proof of purchase for future reference.
Contacting Safe Step Customer Service
For assistance with your Safe Step walk-in tub, reaching customer service is straightforward. You can typically find contact information – including phone numbers and email addresses – on the Safe Step website or within your product documentation. Be prepared to provide your model number, installation date, and a detailed description of your issue.
Dedicated support representatives are available to address questions regarding installation, operation, maintenance, and warranty claims. Online resources, such as FAQs and troubleshooting guides, may also offer immediate solutions. Document all communication with customer service, including dates, times, and representative names, for your records.